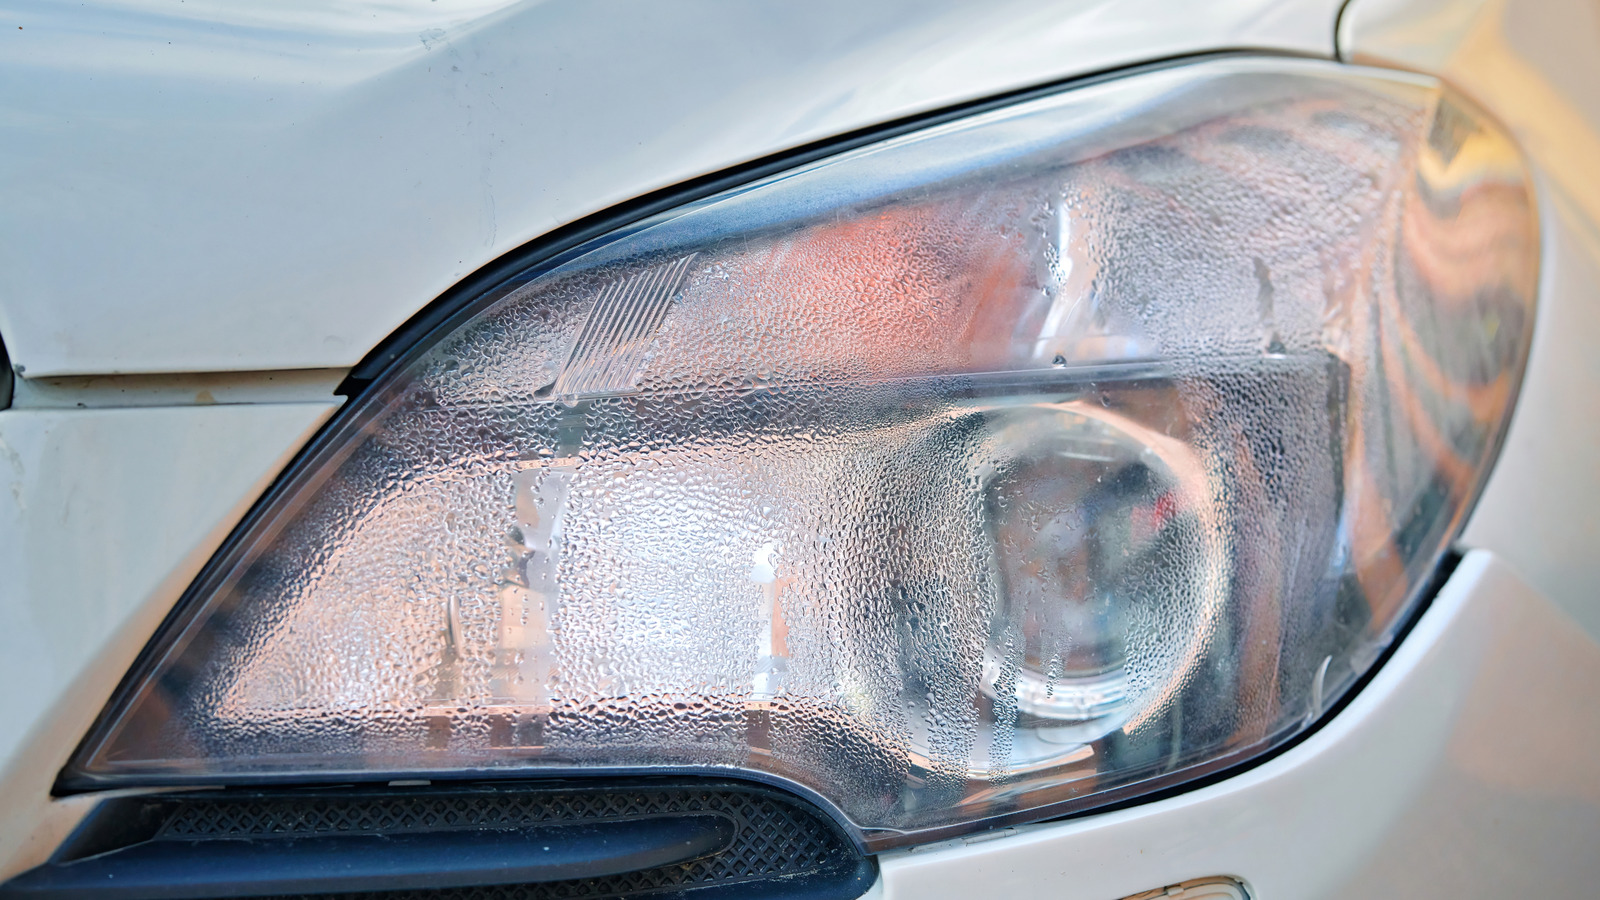
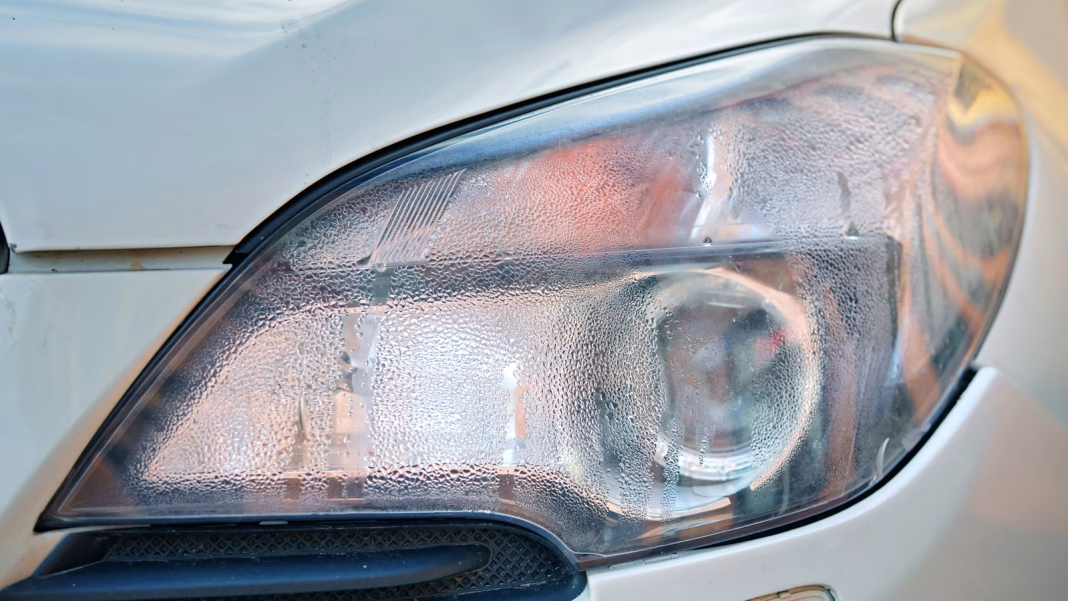
Noticing moisture inside your car’s headlights can be a bit alarming. After all, headlights are supposed to be sealed tight, protecting the bulbs and wiring from the elements. When that seal is compromised, it can lead to foggy lights and even electrical issues. So, what can you do about it? Let’s dive into the common causes of this pesky problem and how to tackle it effectively.
What Causes Moisture in Headlights?
Moisture in your headlights usually points to a breach in the seal. This could happen for a few reasons:
1. **Cracks or Damage**: Over time, your headlights can develop small cracks from road debris or extreme temperature changes. Even tiny imperfections can allow moisture to seep in.
2. **Poor Sealing**: The rubber gaskets or seals around the headlight assembly can wear out or become damaged, leading to leaks.
3. **Condensation**: Sometimes, it’s just condensation forming due to temperature changes. When warm air inside the headlight cools down, it can create moisture.
4. **Faulty Installation**: If the headlights were replaced or installed incorrectly, that might lead to gaps where moisture can enter.
How to Remove Moisture from Headlights
The method you choose to remove moisture largely depends on the severity of the issue. Here are some practical steps to help you clear things up:
### Simple Drying Techniques
If you suspect it’s just condensation, you might be able to fix it without any major repairs. Here’s a quick way to dry them out:
– **Park in the Sun**: On a sunny day, park your car with the headlights facing the sun. The heat can help evaporate the moisture inside.
– **Use a Hair Dryer**: Set a hair dryer on low heat and gently blow warm air into the headlight. Keep it moving to avoid overheating any plastic parts. Just be cautious—too much heat can warp the lens.
### Inspect and Repair
If the moisture persists, it’s time to dig a little deeper:
– **Check for Cracks**: Inspect the headlight lens for any visible cracks. If you find any, you may need to replace the entire headlight assembly.
– **Examine the Seals**: Look at the rubber gaskets around the headlight. If they’re cracked or missing, replacing them can often solve the problem. You can find replacement seals at auto parts stores or online.
### Advanced Solutions
For more stubborn cases, you might need to take a few extra steps:
– **Remove the Headlight Assembly**: If you’re comfortable with DIY projects, removing the headlight assembly can give you a better look at the situation. Check for any signs of damage or wear.
– **Use Silica Gel Packs**: After removing the assembly, place silica gel packs inside the headlight housing. These packs absorb moisture and can help dry out any lingering dampness.
– **Seal the Assembly**: If you’ve found cracks or gaps, consider using a clear silicone sealant to create a watertight barrier. Just make sure to let it cure properly before reassembling.
### When to Seek Professional Help
If you’ve tried these methods and the moisture keeps coming back, it might be time to consult a professional. They can assess whether the headlight assembly needs replacing or if there’s a more significant issue at play.
Keeping your headlights clear is essential for safe driving. Foggy lights can reduce visibility, especially at night or in bad weather. Plus, addressing moisture issues promptly can prevent more extensive electrical problems down the line.
The big takeaway? Moisture in your headlights isn’t just a cosmetic issue—it’s a sign that something needs attention. Start with one of these solutions this week, and you’ll likely see a difference in both clarity and peace of mind.


