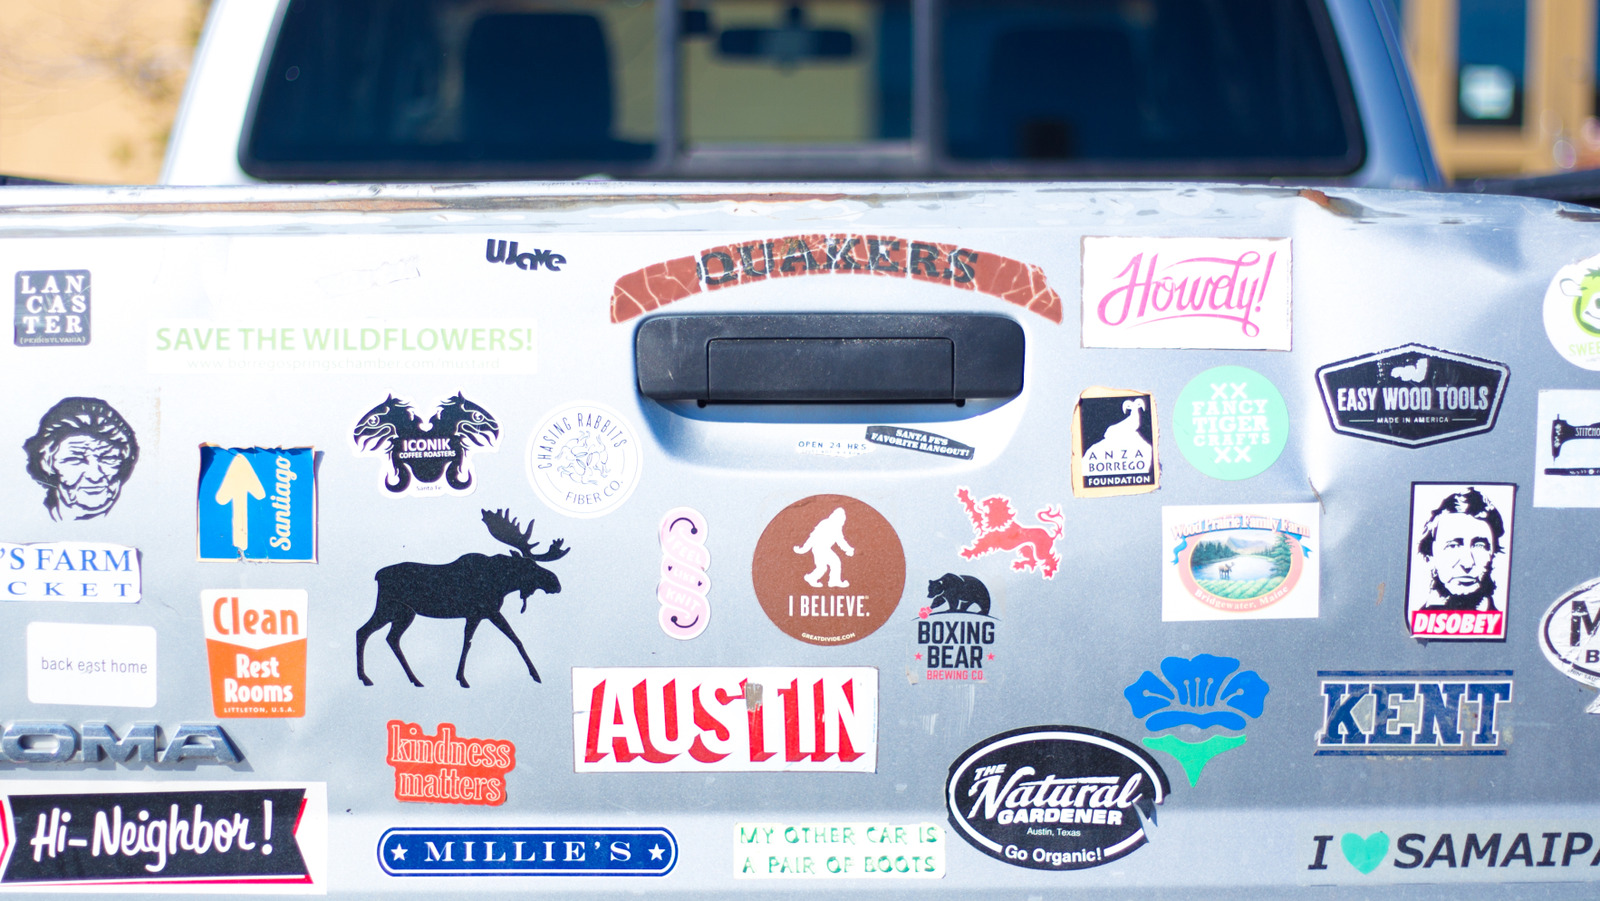
How Can You Remove a Bumper Sticker Without Damaging Your Paint?
So, you’ve got a bumper sticker that’s overstayed its welcome. Maybe it’s a faded political slogan, a college logo from years ago, or just something you’ve outgrown. The big worry? Peeling it off might take some of your car’s paint with it. Good news: with the right approach, you can say goodbye to that sticker without leaving a scar.
What’s the Safest Way to Start Peeling Off a Sticker?
First things first—don’t just start picking at the corner with your fingernails. That’s a recipe for frustration and, worse, scratched paint. The safest starting point is to gently clean the area around the sticker with soapy water. This removes dirt and grit, which could otherwise scratch the surface as you work. Dry the area thoroughly before moving on.
Should You Use Heat or Cold to Loosen the Adhesive?
Both heat and cold can work wonders, but they serve different purposes. If the sticker is fairly new or still flexible, a hair dryer or heat gun on a low setting is your best friend. Hold it a few inches away and move it in circles for 30 seconds to a minute. The heat softens the adhesive, making the sticker much easier to peel off in one piece. Just don’t overdo it—too much heat can damage the paint or warp plastic bumpers.
On the flip side, if the sticker is brittle or cracking, try the ice pack trick. Press a bag of ice against the sticker for a few minutes. The cold makes the adhesive less sticky, sometimes allowing you to pop the sticker off in chunks.
Are Solvents Safe for Your Car’s Paint?
Solvents can be a game-changer, but you need to pick the right one. Rubbing alcohol, white vinegar, or commercial adhesive removers are generally safe for automotive paint when used sparingly. Avoid anything too harsh, like acetone or nail polish remover, which can strip the paint or leave a dull spot.
Here’s how to do it: Soak a soft cloth or paper towel in your chosen solvent, then press it onto the sticker for a minute or two. This helps break down the adhesive without soaking into the paint. Afterward, gently peel the sticker back. If it resists, repeat the process—patience pays off here.
What Tools Can Help Without Scratching?
If you need a little extra leverage, reach for a plastic scraper or an old credit card. Metal blades are a no-go—they’ll gouge your paint faster than you can say “oops.” Slide the edge under the sticker and work slowly. If you feel resistance, add more heat or solvent rather than forcing it.
What About Sticky Residue?
Even after the sticker is gone, you might be left with a stubborn, sticky patch. Don’t panic. Dab a bit more rubbing alcohol or adhesive remover onto the spot and let it sit for a minute. Then, wipe away with a microfiber cloth. For extra-stubborn residue, a clay bar (the kind used for detailing) can lift off the last bits without harming the finish.
Will Removing a Sticker Affect My Paint Long-Term?
If you follow these steps and avoid harsh chemicals or metal tools, your paint should be just fine. In fact, Consumer Reports notes that modern automotive paints are designed to withstand minor chemical exposure and gentle scraping. The real risk comes from impatience—rushing the job or using the wrong products can lead to scratches or discoloration.
Can You Prevent Future Sticker Headaches?
Absolutely. If you’re planning to add another sticker down the road, consider using a magnetic backing or a removable vinyl sticker. These are much easier to swap out and won’t leave a mess behind. And if you do go for a traditional sticker, waxing the area first can make removal smoother next time.
The big takeaway? Removing a bumper sticker isn’t about perfection—it’s about smarter adjustments. Start with one change this week, and you’ll likely spot the difference by month’s end.


