How Do You Know When Jumper Cables Need Replacing?
Jumper cables are one of those things you hope you never need, but when you do, you really need them to work. Most folks toss a set in the trunk and forget about them until a dead battery throws a wrench in their plans. But here’s the thing: jumper cables aren’t indestructible. Just like any other tool, they can wear out or get damaged over time. So how do you know when it’s time to swap them out for a fresh set?
What Are the Signs of Worn-Out Jumper Cables?
First, take a close look at the cables themselves. If you spot any fraying, exposed wires, or cracked insulation, that’s a red flag. Damaged insulation isn’t just unsightly—it can be downright dangerous. Exposed wires can spark or short out, especially in damp conditions. Another telltale sign? Rust or corrosion on the clamps. If the metal is pitted, flaky, or discolored, it won’t conduct electricity as well, which means your jump-start might not work when you need it most.
Don’t forget to check the flexibility of the cables. Over time, the rubber or plastic coating can stiffen, especially if the cables have been sitting in a cold trunk for years. If they feel brittle or crack when you bend them, it’s time for a replacement. And if you notice any melted spots or burn marks, that’s a clear sign the cables have overheated at some point—usually from a poor connection or trying to jump a car that’s drawing too much current.
Why Does Jumper Cable Quality Matter in Emergencies?
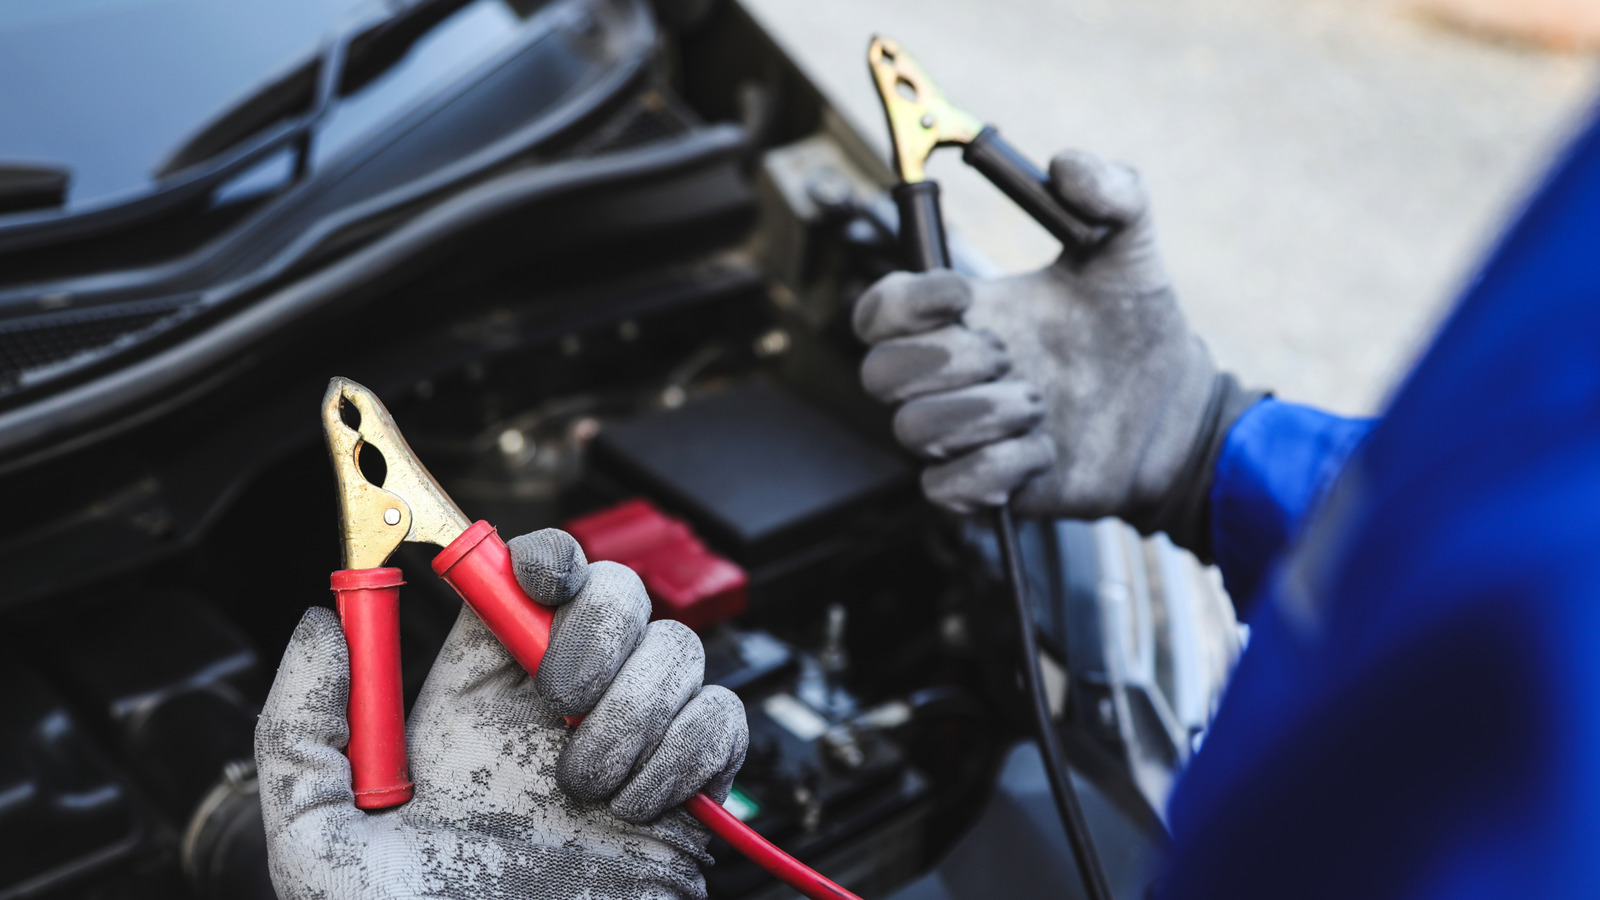
It’s tempting to grab the cheapest set of cables you can find, but not all jumper cables are created equal. Thicker cables with heavy-duty clamps are less likely to fail when you need them. According to the National Highway Traffic Safety Administration, cables with a gauge rating between 4 and 6 are ideal for most passenger vehicles. Thinner cables (higher gauge numbers) can overheat or fail to deliver enough current, especially in cold weather.
A real-world example: a friend of mine once tried to jump-start his SUV with a bargain-bin set of cables. The clamps barely gripped the battery terminals, and the cables themselves got hot to the touch after just a few seconds. The result? No start, and a set of cables that ended up in the trash. Spending a little more upfront can save you a lot of hassle—and possibly a tow truck bill—down the line.
How Often Should You Inspect or Replace Jumper Cables?
There’s no hard-and-fast rule, but a good habit is to check your cables every six months or so. If you use them frequently, inspect them more often. Look for the issues mentioned earlier: fraying, corrosion, stiffness, or burn marks. Even if your cables look fine, consider replacing them every five to seven years, especially if they’ve been exposed to extreme temperatures or moisture.
If you’re not sure about the age or condition of your cables, err on the side of caution. The peace of mind is worth it. And if you’ve ever had to jump-start a car in the pouring rain or freezing cold, you know that’s not the time to discover your cables are toast.
Are There Alternatives to Traditional Jumper Cables?
Portable jump starters have become increasingly popular in recent years. These compact battery packs can jump your car without needing a second vehicle. They’re especially handy if you drive alone or in remote areas. While they’re not a direct replacement for jumper cables, they’re a great backup option. Just remember to keep them charged—nothing’s worse than pulling out a dead jump pack in an emergency.
What’s the Best Way to Store and Maintain Jumper Cables?
Proper storage can extend the life of your cables. Keep them coiled neatly in a dry, cool place—ideally in a carrying case to prevent tangling and protect the insulation. Avoid tossing them in the trunk where they can get crushed or exposed to moisture. After each use, wipe down the clamps to remove any battery acid or grime. A little preventative care goes a long way.
The big takeaway? Jumper cables aren’t about perfection—they’re about smarter adjustments. Start with one change this week—maybe a quick inspection or an upgrade to a better set—and you’ll likely spot the difference by month’s end. When trouble strikes, you’ll be glad you did.